DIY: Pumpkin Centerpiece
DIY: Pumpkin Centerpiece
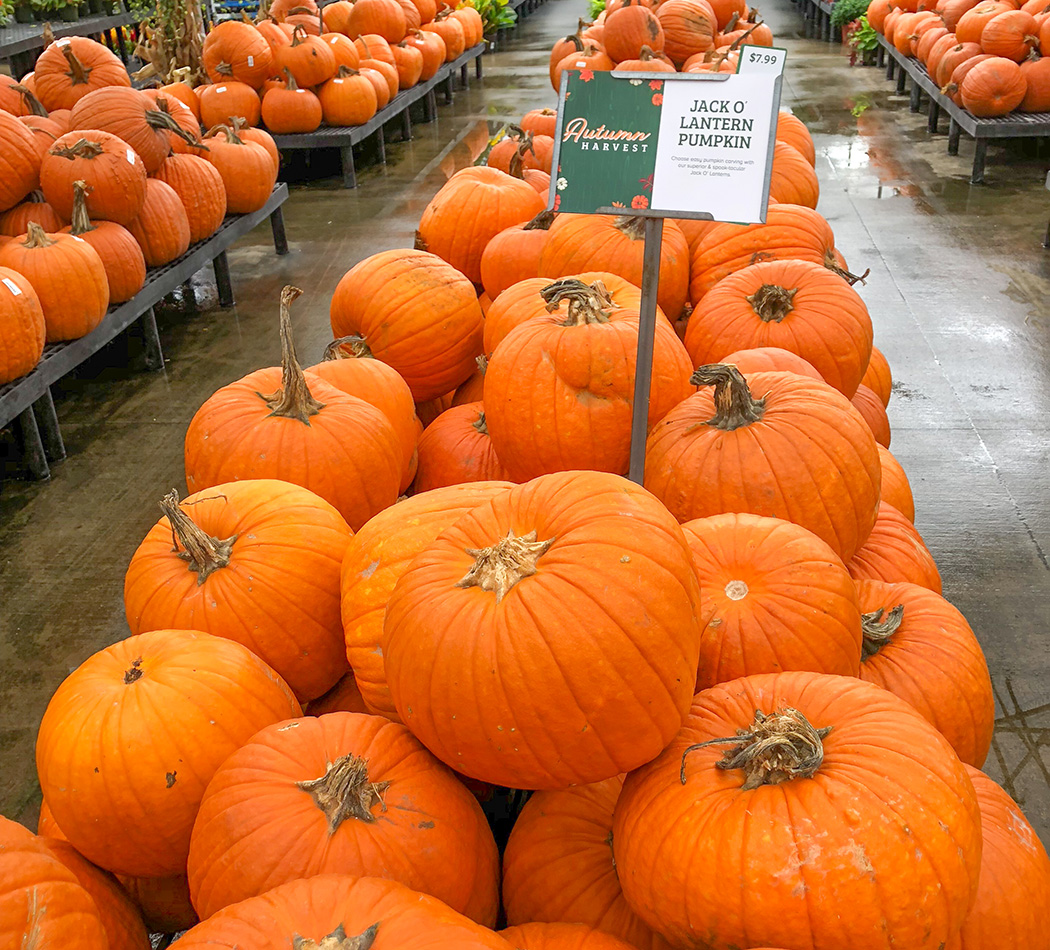
Are you wanting to create a custom fall centerpiece, but don’t know where to start? How about looking to your garden or local nursery? If you grew pumpkins in your summer garden or are picking one from a local pumpkin patch, follow this easy DIY to create your unique pumpkin centerpiece!
Supplies
Here is the list of must-haves for completing this DIY:
- 1 pumpkin, standard Jack-o’-lantern size
- 3 stems of floral wire, 12” to 18” in length (best when wrapped in fabric tape)
- 2 decoration picks
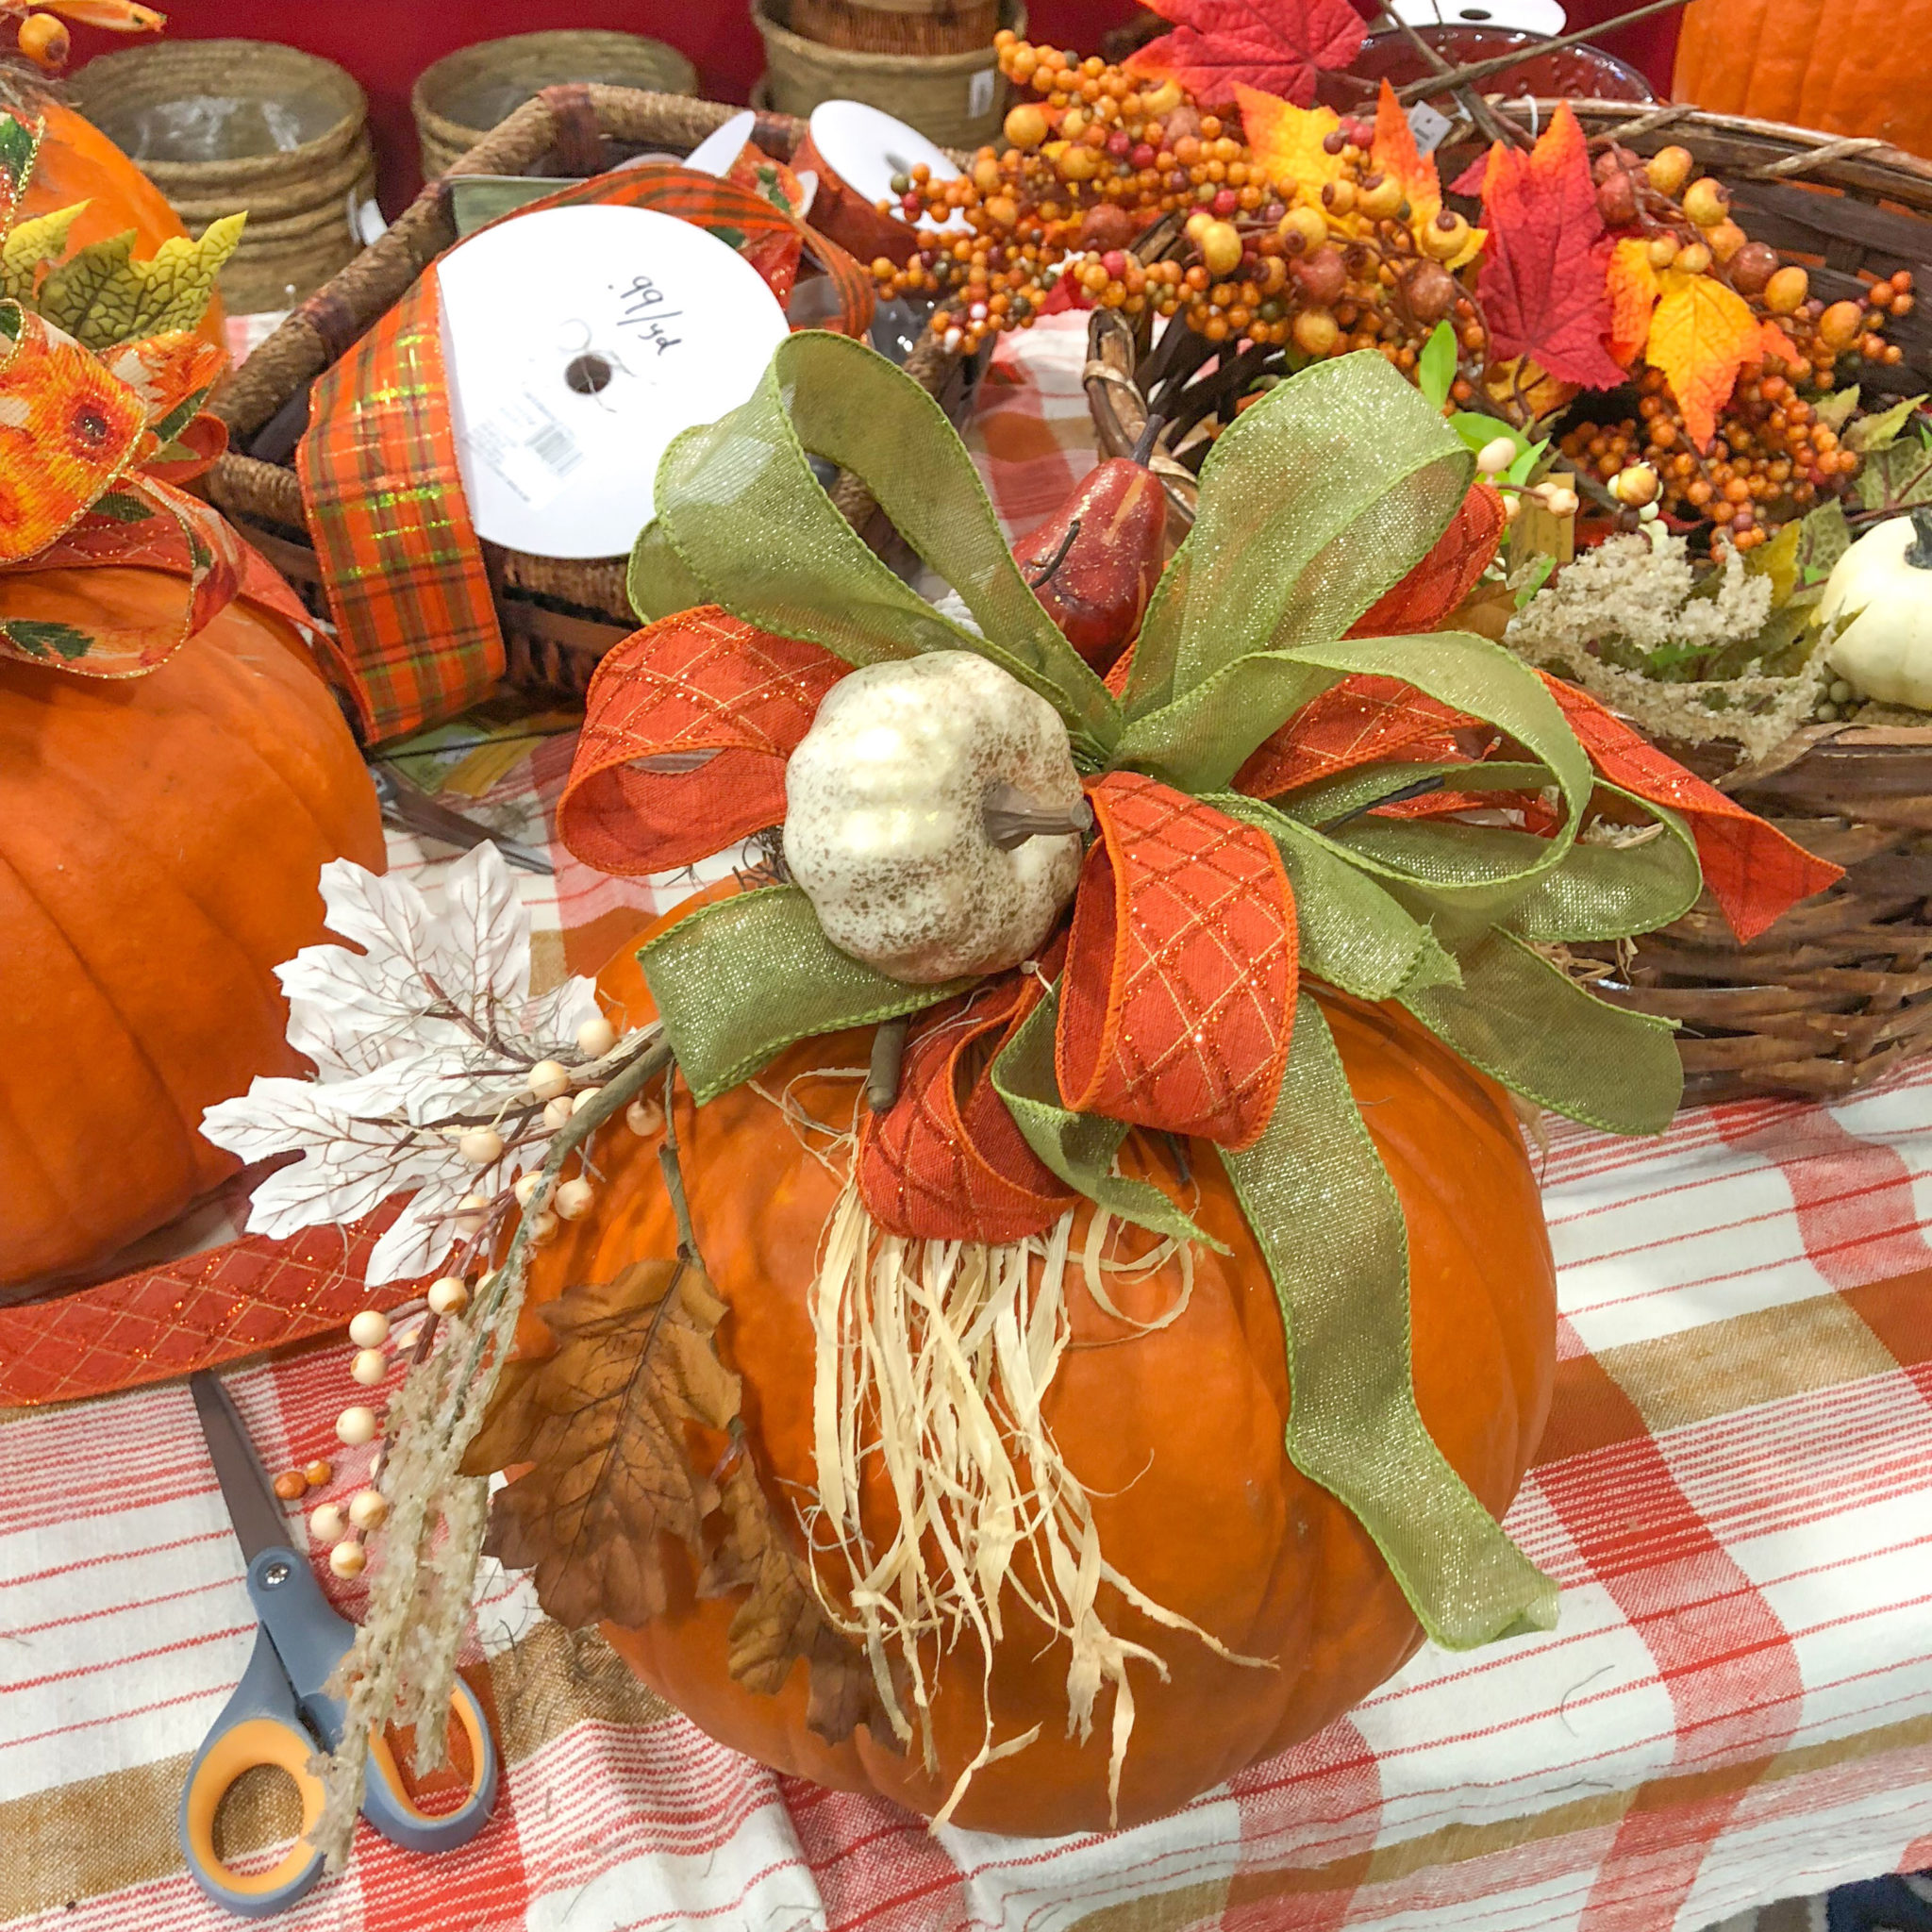
- 6 total yards of ribbon, in 1 to 3 styles
- Ice pick, knife or other sharp object, to make a hole or notch in the pumpkin’s stem
- Scissors
- Moss (optional)
- Fabric tape (optional)
- Needle nose pliers (optional)
- Yardstick (optional, tip below for those who do not have one)
- Floor wax (optional)
If you are unable to find floral wire pre-wrapped in fabric tape, you can create your own by purchasing fabric tape and wrapping the wire. Floral wire not wrapped in fabric tape will still work for this project.
Pumpkin Picking Tips
Think of your pumpkin like your own skin. Stay away from pumpkins with scratches, holes or soft “bruised” areas. Pumpkins with these issues won’t last as long! Pumpkins that have grown a bit odd with creases, “warts” or that are leaning, are just fine. These little imperfections add character to your fall centerpiece! You want a pumpkin with at least a little bit of a stem to help hold your decorations to it, but pumpkins without stems are still great for decorating your porch.
Prepping the Pumpkin
Once you’ve gotten your perfect pumpkin home, make sure to wash it with warm, soapy water. If you would like to add a shine to your pumpkin, treat the outside with floor wax by adding a small amount to a damp cloth and rubbing on your pumpkin. This step can help preserve the pumpkin just a little longer, but isn’t necessary to have a gorgeous pumpkin centerpiece. While you’re waiting for your pumpkin to cure, take an ice pick and make a small hole in the stem to thread a stem of floral wire through.  If you are using a knife, make a small notch on the stem where fabric wire can “catch” and hold your decorations. Put your hole or notch roughly 1 to 2 inches above the base of the stem. When your pumpkin has dried, you’re ready to begin creating your centerpiece!
Making the Bouquet
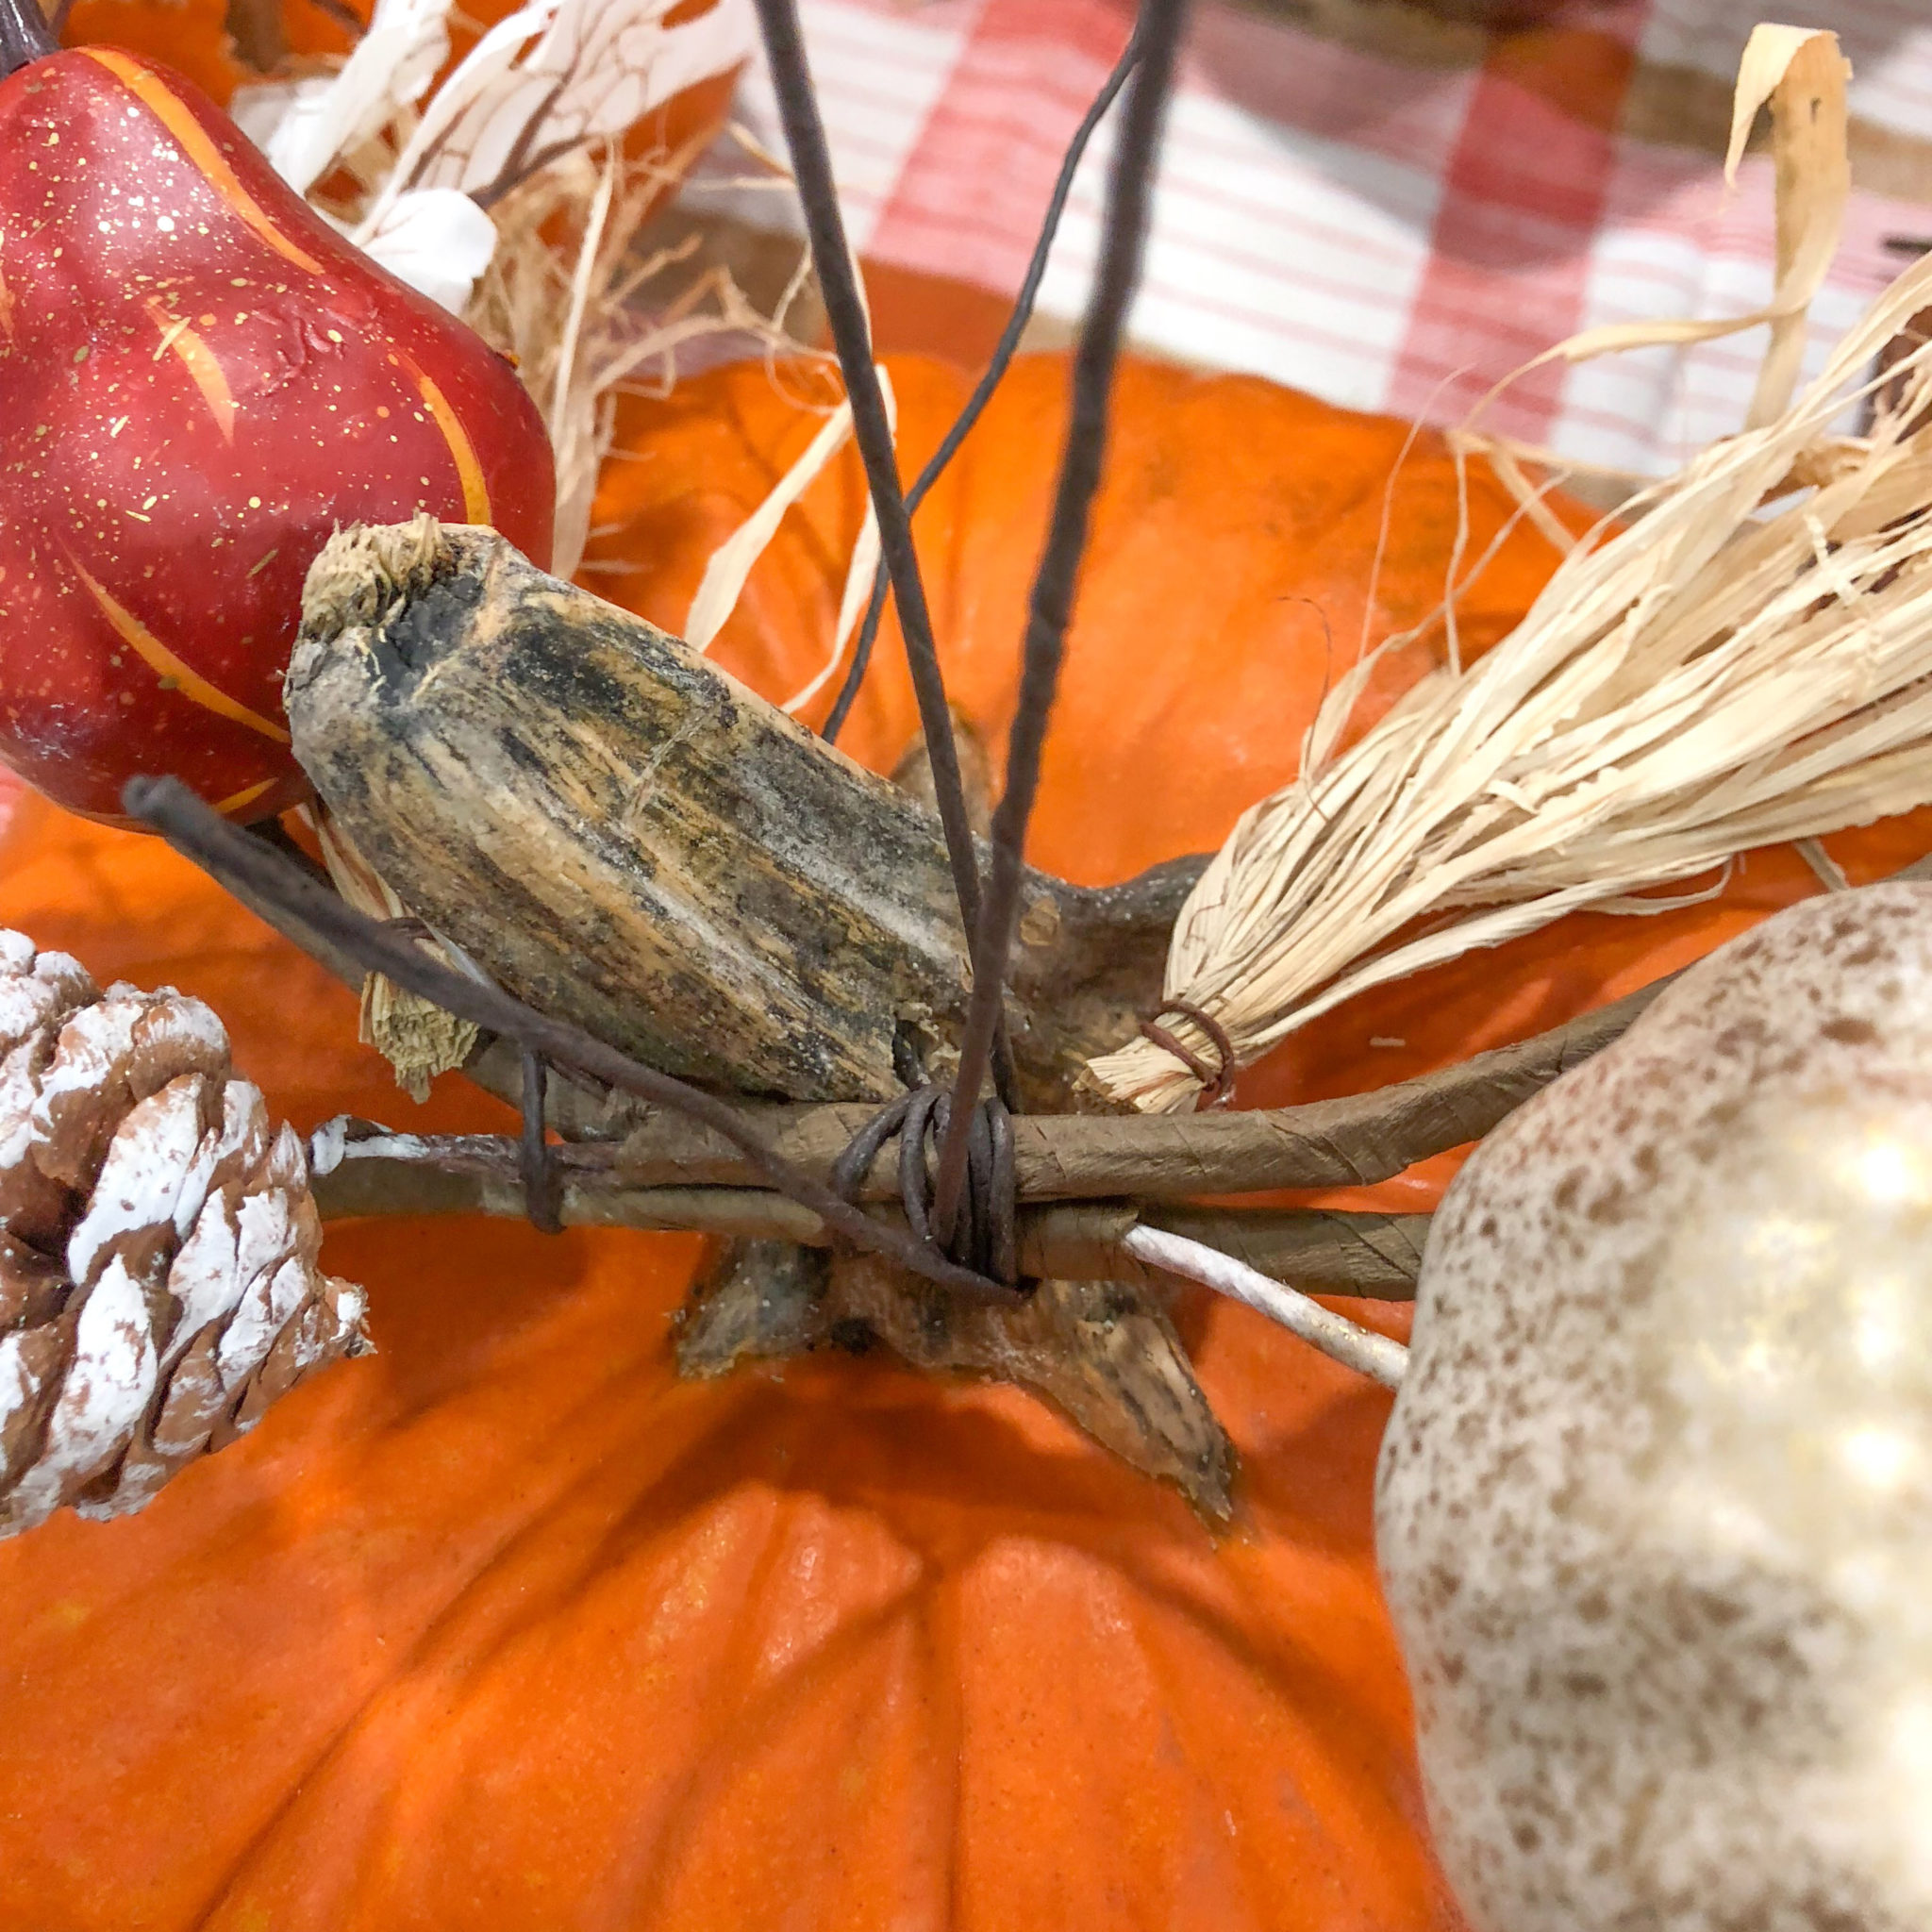
Take your decoration picks and hold them end to end, overlapping and with the decorative portions at either end. Hold these on top of your pumpkin to get an idea of where you would like to position them, the overall length of your combined picks and how you would like them to lay across your pumpkin. Once you are happy with the general direction, take a stem of floral wire and wrap it tightly, two to three times around the picks, securing them together. Begin fanning your picks out, occasionally laying it across your pumpkin to make sure you are happy with its future placement. Once you are done spreading your picks, place it on your pumpkin and use the floral wire that is threaded through your stem to fasten your picks to the pumpkin by wrapping it one to two times.
Measuring the Ribbon
To make the bow portion of the bouquet, you will need to measure out 6 total yards. If you do not have a yard stick, a good way to measure the ribbon is to take one end in one hand and the spool in the other hand. Hold the spool at your check and draw the ribbon away from your body, to the side. This will give you roughly one yard of ribbon!
- If you will be using three styles of ribbon, cut one, 2 yard section from each style of ribbon, angling the ends.
- If you will be using two styles of ribbon, cut one, 3 yard section from each style of ribbon, angling the ends.
- If you will be using one style of ribbon, you can cut one, 6 yard section or use one of the above options to make your ribbon length more manageable. Remember to angle the ends!
The Bow
Take your final stem of floral wire and make a hairpin shape (a tall U). If you will be using different widths of ribbon, begin with your skinniest first. Take one piece of ribbon in your left hand with the decorative side of the ribbon facing up and having 4 to 6 inches hanging in the front with the remainder hanging down the back. Pinch the ribbon between your fingers so it is not flat where you are holding it. With your right hand, take the back portion of the ribbon and make a loop that is 4 to 6 inches in length. Once you are happy with the size, pinch and twist at the base of the loop, placing it in your left hand behind where the loop begins. Twisting will help keep the decorative side up in your bow.
Repeat until you have around six total loops per side, each time placing the loop at the back and occasionally checking to make sure your loops are of equal length. If switching to a new strand of ribbon, leave a small tail of the previous, you do not have to force a loop where one cannot be made! Take your new strand and begin the same way as before, with 4 to 6 inches hanging down, but this time placed behind your current loops.
Securing Your Bow
Once you are finished with all of your loops, take your hairpin floral wire and place it over where your ribbons are pinched. Wrap your ribbon securely once, with just enough room to move if you need to adjust your loop sizes. Taking the bow in your left hand, begin gently pulling the loops, alternating the direction up and down, to fluff the bow. When you are happy with the look of you bow, fix it to the stem of your pumpkin with the floral wire that is holding it together. Make sure it is nice and tight and does not wiggle a lot on the stem. For this portion, it is helpful to have needle nose pliers to help get the wire as tight as needed.
Finishing Touches
 Fluff and further arrange the ribbon and picks as need once they are both on the pumpkin. If you have bare spots, where the base of the stem is showing, these are good areas to place moss. If your bouquet is fixed tightly to the stem, you should be able to slide moss under the existing decoration without needing extra materials to hold the moss to the stem. For your stray wires that are poking up, you can either clip these off with pliers or curl them for added interested to your centerpiece!
Let us know in the comments below, or on social media, if you have made your own fall centerpiece or if you will be following this DIY to create a pumpkin centerpiece!
This DIY pumpkin centerpiece was adapted from a Pumpkin Decorating Workshop hosted by Cornelius Nursery in Houston at their annual Pumpkin Fest. For more information on this year’s Pumpkin fest, please click here.