How to Revive Dying Plants in 7 Clear Steps
Share
TL;DR:
- Most struggling plants are salvageable if you accurately assess their signs of life and avoid overwatering or fertilizing prematurely.
- Patience and proper environmental adjustments are essential for recovery, with some cases taking weeks to months to fully rebound.
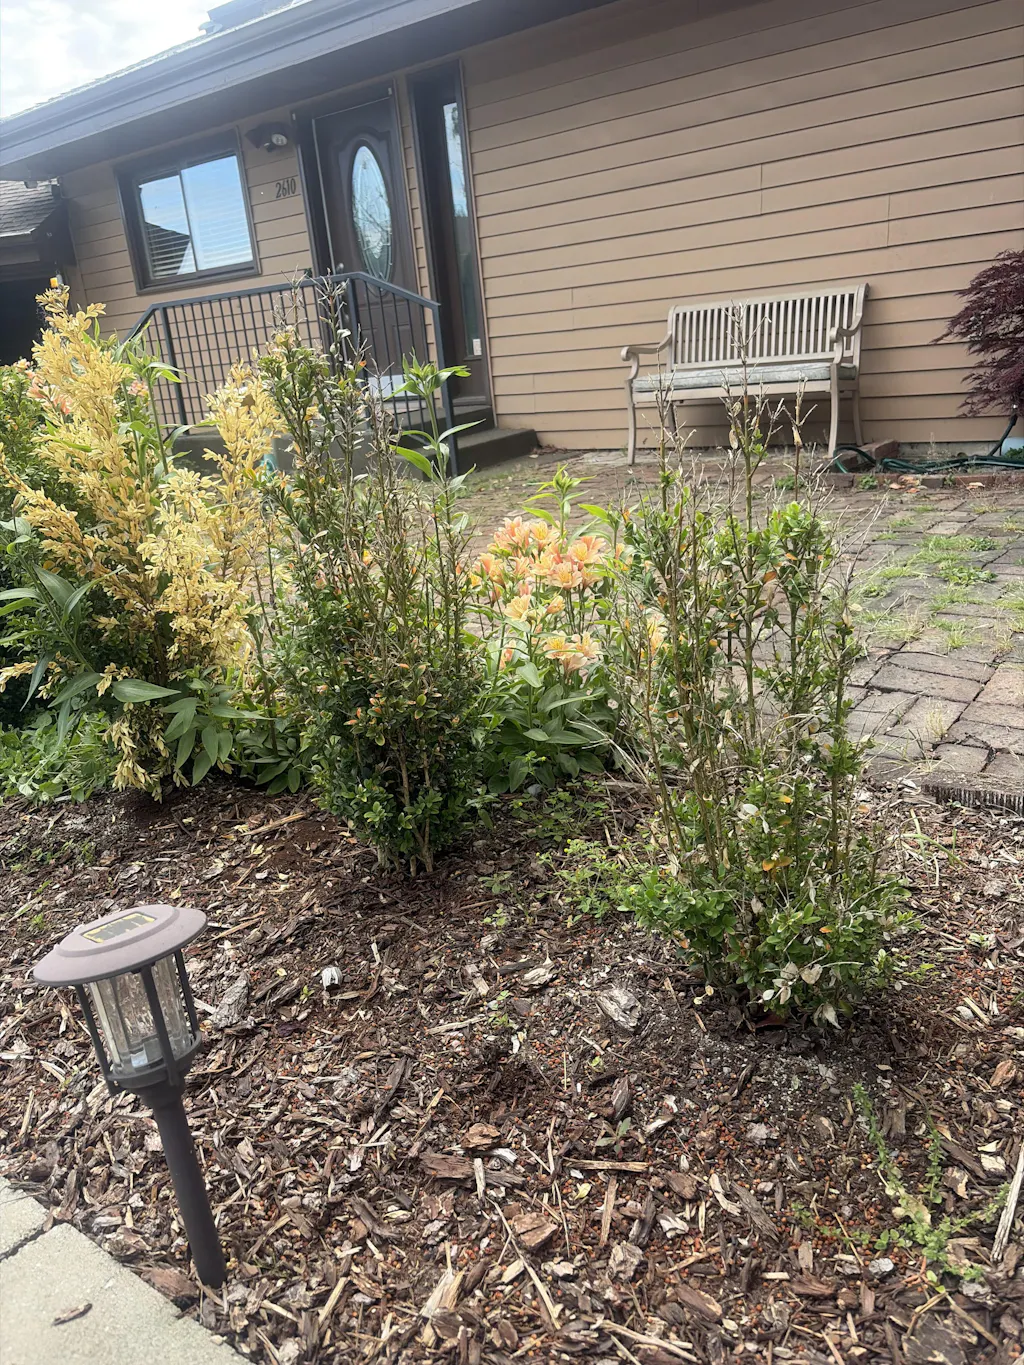
Your leafy friend is looking rough, and you’re not ready to give up on it. Learning how to revive dying plants is genuinely one of the most rewarding skills a plant parent can develop, and the good news is that most struggling plants are not as far gone as they look. The secret is not throwing more water or fertilizer at the problem. It’s slowing down, reading what your plant is actually telling you, and responding with the right care at the right time. This guide walks you through the full process from first assessment to full recovery.
Table of Contents
- Key takeaways
- How to revive dying plants: assess life signs first
- Diagnosing what went wrong
- Targeted treatments for common problems
- Monitoring recovery and avoiding common mistakes
- My take on plant revival after years of leafy trials
- Give your struggling plants a cellular boost
- FAQ
How to revive dying plants: assess life signs first
Before you do anything else, you need to answer one honest question: is there actually still life in this plant? Not all struggling plants can be saved, and living tissue present is the only real indicator that revival is worth attempting.
The bark scratch test
Take your fingernail or a small knife and gently scratch the surface of a stem near the base. If you see green or white tissue underneath, that stem is alive. Dry, brown, hollow tissue all the way through means that section is gone. Work your way down toward the base of the plant, because even if the top growth looks completely dead, the lower stems or roots may still be viable.
Check also for any remaining green leaves or buds. Absence of leaves or green buds is a strong signal that the plant cannot be saved. If you find even one green node or a firm root crown, you have something to work with.
Gather your tools before starting
Reviving houseplants goes much smoother when you have the right supplies ready. Here is what you will want on hand:
- Sharp, clean pruning shears or scissors
- Fresh, well-draining potting mix suited to your plant type
- A pot with drainage holes
- Gloves to protect your hands during root inspections
- A watering can with a narrow spout for controlled watering
- A spray bottle for humidity management
- A clean tray for bottom watering
Having these ready before you start means you can move through the process without stopping, which matters when a stressed plant’s roots are exposed to air.
Diagnosing what went wrong
Proper diagnosis is the most critical step in the entire revival process. Yellowing leaves, wilting, and brown tips all look similar but can mean completely opposite problems. Treating a drought-stressed plant like an overwatered one will finish it off fast.
Step 1: Check soil moisture the right way
Do not just touch the surface. Push your finger two to three inches into the soil. Bone dry all the way down means underwatering. Soggy and cool all the way down means overwatering. There is also a third scenario that catches many people off guard: hydrophobic soil. This happens when the soil has dried out so completely that it pulls away from the pot edges and water runs straight through without being absorbed at all. If water pours out the bottom within seconds, hydrophobic soil is likely the issue.
Step 2: Inspect the roots
Remove the plant gently from its pot and take a look at the root system. Healthy roots are firm and white or light tan. Roots that are soft, brown or black, and have a sour smell point to root rot. A tight, dense mass of roots circling the inside of the pot signals a rootbound plant that needs more space.
Pro Tip: Lay the plant on its side and squeeze the pot gently before pulling. This loosens the root ball without yanking on the stem, which protects fragile root tissue during inspection.
Step 3: Read the leaves and environment
- Yellow leaves across the plant often point to overwatering or root oxygen deprivation.
- Crispy, brown leaf tips usually indicate underwatering, low humidity, or too much direct sun.
- Pale, stretched growth means the plant is not getting enough light and is reaching for more.
- Sudden leaf drop can point to a temperature draft or a sudden environmental change rather than a watering issue.
- Sticky residue or tiny insects on leaves signals a pest problem that needs separate treatment before anything else.
Isolate any plant showing pests immediately. Keeping it near other plants risks spreading the problem to your whole collection while you are trying to nurse one back to health.
Targeted treatments for common problems
Now that you know what you are dealing with, it is time to act. The treatment has to match the diagnosis. Here is how to rescue wilting plants based on what you found.
Treating drought stress and hydrophobic soil
Slow, gradual rehydration is far safer than a sudden flood of water. Bottom watering is the most effective method for drought-stressed or hydrophobic soil. Place the pot in a tray of room-temperature water and let it absorb moisture slowly through the drainage holes for 30 to 45 minutes. This ensures water reaches the roots instead of running around dry soil.
After that initial soak, space your next watering by seven to ten days, checking soil moisture before each session. Do not rush back to a regular watering schedule until the plant shows clear signs of stability.
Treating overwatering and root rot
- Stop watering immediately and move the plant somewhere with good airflow.
- Remove the plant from its pot and shake off as much wet soil as possible.
- Trim all soft, dark, mushy roots with sterilized scissors. Cut back until you reach firm, healthy tissue.
- Do not reuse the old potting mix. Infected soil can harbor pathogens like Phytophthora that no amount of drying will eliminate.
- Repot into fresh, well-draining mix in a clean pot with drainage holes.
- Hold off on watering for 48 hours after repotting, then water lightly.
Improving drainage is non-negotiable here. A pot without drainage holes is where good plants go to die slowly.
Pro Tip: After trimming rotted roots, let the cut ends air-dry for 20 to 30 minutes before repotting. This reduces the chance of new rot developing at the cut sites.
Environmental adjustments
| Stressor | Symptom | Fix |
|---|---|---|
| Too little light | Pale, leggy growth | Move closer to a window or add a grow light |
| Too much direct sun | Scorched, bleached leaves | Filtered light or a sheer curtain |
| Temperature drafts | Sudden leaf drop | Move away from vents, doors, and windows |
| Low humidity | Brown leaf tips | Mist regularly or use a pebble tray with water |
Environmental factors are the most commonly overlooked part of reviving houseplants. Getting the soil right and then leaving the plant next to a heating vent will undo your work quickly.
Monitoring recovery and avoiding common mistakes
This is where patience becomes your most useful tool. Recovery is not linear. Plants can look worse before they look better, and that is completely normal.
“Recovery efforts should be paced with patience. Plants can appear worse before improving, and leaf drop during recovery is normal.” — growyourplant.com
What to watch for
- New growth emerging from nodes or the base is the clearest sign your revival effort is working.
- Drought stress recovery can show results in 24 to 72 hours. Root rot recovery takes four to eight weeks of consistent, careful care.
- Gradually restore the plant to its regular care routine as new leaves appear. Do not jump back to heavy watering or fertilizing all at once.
Mistakes that slow recovery
- Adding fertilizer too early. This is one of the most common errors. Fertilizer on a stressed plant pushes cellular activity the plant cannot support, making symptoms worse. Wait until the plant shows two to three rounds of healthy new growth before feeding.
- Overcompensating after drought. After a dry spell, soaking the soil daily to “make up for lost time” causes secondary root rot on a plant that was just starting to recover.
- Moving the plant constantly. Every new location is another adjustment stress. Pick the right spot and leave it there.
- Giving up too soon. Some plants look completely dead for weeks before showing any green. Keep checking stems for living tissue before calling it.
My take on plant revival after years of leafy trials
I’ve spent more time than I’d like to admit hovering over wilting plants, second-guessing myself, and making the very mistakes I now write about. Here is what I have actually learned from all of it.
The single biggest thing I got wrong early on was treating symptoms instead of causes. I saw a drooping plant and watered it. Sometimes that was right. Often it made things dramatically worse. I eventually learned to stop and ask why the plant was drooping before doing anything at all. That pause changed everything.
I’ve also seen how much the environment matters in ways gardening advice often glosses over. A beautifully repotted plant placed in a drafty hallway will struggle just as much as one that was never repotted. Sudden temperature changes and air conditioning drafts can cause rapid leaf drop that looks like a watering problem when it is not.
My favorite revival story involves a pothos that was completely leafless and looked like a dry twig in a pot. I scratched the stem, found green tissue, and just committed to slow, patient care. Six weeks later it had three new leaves. The plant did not care about my impatience. It was just doing the work on its own timeline. That taught me more about plant care than any article I have read.
If your plant still has life in it, give it the right conditions and then get out of its way.
Give your struggling plants a cellular boost
When you have done everything right but a plant is still barely hanging on, that is exactly where mitogrow was built to help. mitogrow is a naturally derived biostimulant that works from inside the plant, activating its stress response and boosting nutrient uptake by up to 50%. It does not replace the recovery steps in this guide. It supercharges them. Whether your plant is recovering from root rot, transplant shock, or a long drought, mitogrow gives it the cellular energy to use what is already in its environment more efficiently. It is pet-safe, impossible to overdose, and compatible with any fertilizer you already use. Visit mitogrow to find the formula that fits your plants, whether they live in pots, garden beds, or somewhere in between.
FAQ
How do I know if my dying plant can still be saved?
Scratch a stem near the base and look for green or white tissue underneath. Living green tissue confirms the plant is alive and worth reviving. If stems are completely dry and brown throughout, that section cannot be saved.
What is the fastest way to revive a wilting plant?
It depends on the cause. If the plant is underwatered, bottom watering for 30 to 45 minutes gives roots direct access to moisture and often shows results within 24 hours. Overwatered plants take much longer, often two to four weeks, once drainage is corrected.
Can I fertilize a dying plant to help it recover?
No. Fertilizing a stressed plant before it has stabilized pushes growth the plant cannot support and usually makes things worse. Wait until you see at least two to three rounds of healthy new growth before introducing any fertilizer.
How long does plant recovery take?
Recovery timelines vary by cause. Drought stress can resolve in 24 to 72 hours. Overwatering and root rot take two to eight weeks of consistent corrective care depending on severity.
Why are my plant’s leaves still falling off during recovery?
Leaf drop during recovery is normal and expected. Plants redirect their energy to root repair and new growth, shedding older leaves that are no longer efficient. As long as stems remain green and new buds appear, your plant is on the right track.