How to Revive a Dying Flower Bed: Signs, Fixes, and Next Steps
Share
A flower bed that stops blooming is usually signaling a problem below the surface, not asking for a quick dose of plant food. Compacted soil, inconsistent moisture, poor light, spent growth, and unavailable nutrients can all limit roots before leaves show obvious stress.
To understand how to revive a dying flower bed, inspect the plants and soil first, then correct moisture, pruning, growing conditions, and root-zone health in a measured sequence.
Start by looking for patterns across the bed. Yellowing leaves, thin growth, bare patches, and fewer flowers can help distinguish a soil or water issue from normal seasonal changes. Soil preparation matters because annuals must anchor and absorb water and nutrients quickly in one growing season, according to Mississippi State University Extension: soil preparation guidance. Once you know what the plants are showing you, the right recovery steps become much clearer.
How To Revive A Dying Flower Bed: Signs Your Flower Bed Is in Trouble
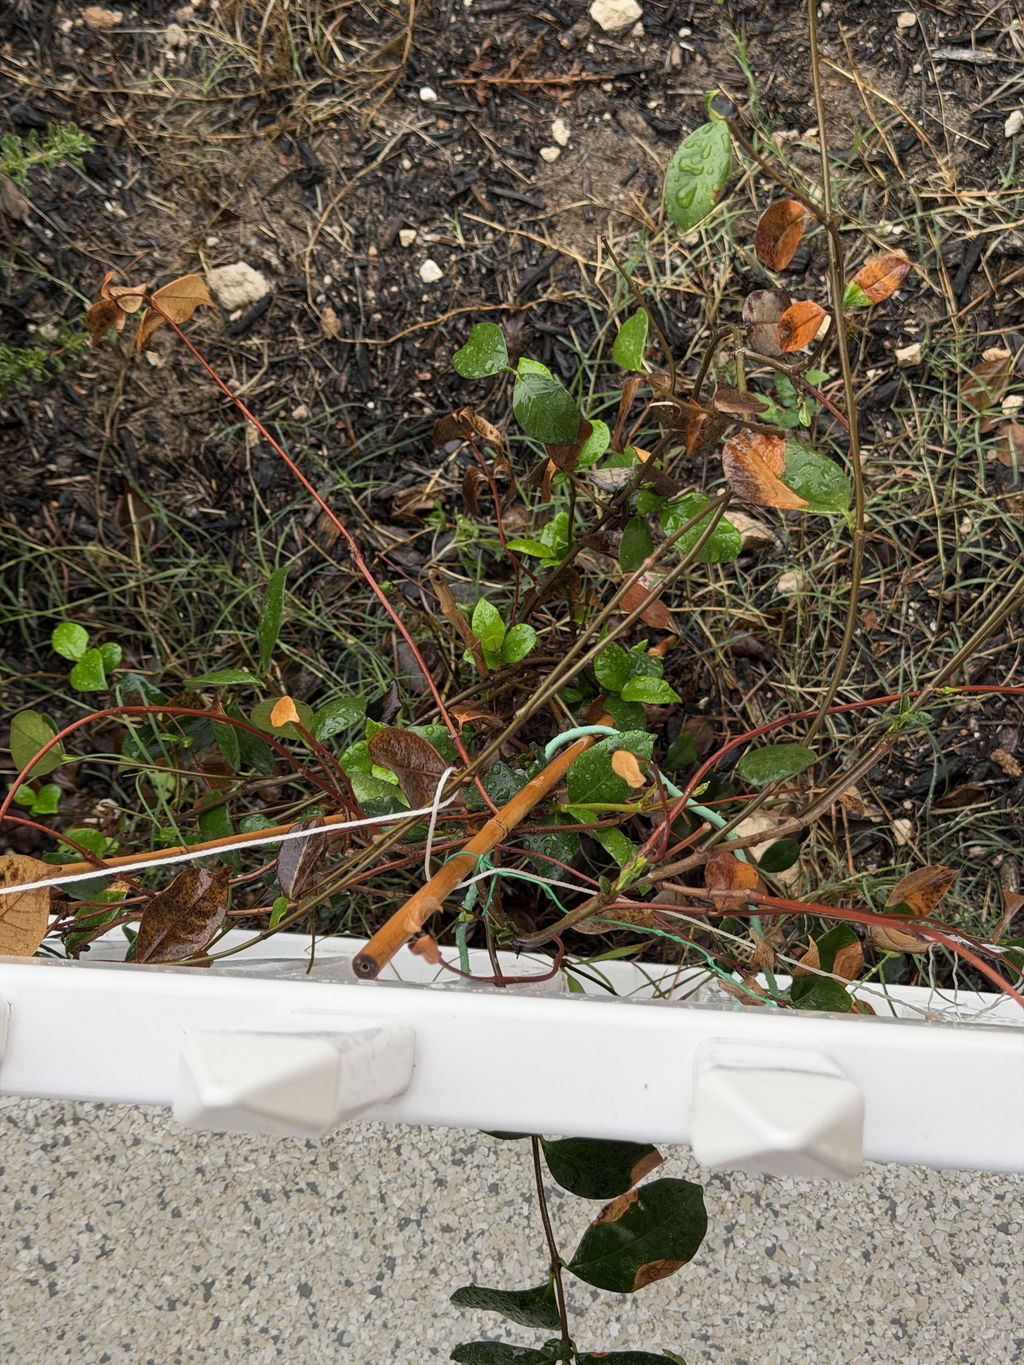
A struggling flower bed usually gives you several clues before plants fail completely. Look at the bed as a whole, not just one stressed plant. Annuals and perennials respond differently to weather and seasonal timing, but a pattern of decline across the bed points to an underlying growing-condition problem.
- Fewer blooms each year: A noticeable drop in flowers from one season to the next can signal depleted or compacted soil, especially in an established bed. Beds older than five years may decline because soil structure has deteriorated, not because the plants are simply too old.
- Yellow or pale leaves: This condition, called chlorosis, can affect new or mature foliage. It may indicate a nutrient-availability or root-zone problem rather than a lack of fertilizer. Poor soil conditions can prevent roots from using nutrients that are already present.
- Sparse or leggy growth: Long, thin stems, wide gaps between leaves, and plants leaning toward light often indicate inadequate sunlight, overcrowding, or weak root development. Bare patches between otherwise surviving plants are another sign that the bed is losing consistency.
- Stems that snap instead of bend: Brittle stems can reflect drought stress, poor root support, or growth that is weak and poorly established. Check whether the soil is hard and dry below the surface before assuming the plant needs more nutrients.
- Stunted new growth: If fresh leaves remain small or new shoots stop developing, inspect the root zone and surrounding plants. Compaction, inconsistent moisture, and restricted roots can all limit recovery.
Check for winter damage before removing a plant
Winter can make a living perennial or woody accent plant look dead. For a woody plant, gently scratch a small section of outer bark with your thumbnail. Green tissue underneath indicates live wood; brown tissue indicates that portion is dead. Test more than one stem, since damage may affect only the tips.
Document which symptoms appear together. A single yellow leaf may be normal, while widespread chlorosis, fewer flowers, bare patches. And weak new growth justify a closer look at soil, water, sunlight, and root health. For a broader foundation in bed care, review these outdoor gardening tips before deciding how to revive a dying flower bed.
Is It Soil, Water, Sun, or Nutrient Deficiency
Before adding products or replacing plants, test the conditions around the roots. Soil preparation is foundational because annuals must anchor and absorb water and nutrients quickly in one growing season. Mississippi State University Extension explains why soil preparation matters for flower beds.
| Possible cause | Signs to look for | First diagnostic step |
|---|---|---|
| Soil structure or pH | Water pools on the surface, roots struggle in compacted clay, or leaves yellow despite regular care. | Test the soil. Most flowering plants prefer pH 6.0 to 7.0. Outside that range, nutrients can become unavailable. Low pH can make iron, aluminum, and manganese toxic, while pH above 7.5 can reduce micronutrient availability. For heavy clay, organic matter can improve aeration, drainage, and pore space. |
| Watering | Wilting, crispy edges, soft or declining roots, or soil that is either dusty and dry or consistently soggy. | Check moisture several inches below the surface before watering. Soil moisture enables 99% of nutrient movement, so dry roots cannot access nutrients efficiently. Water deeply and less frequently to encourage roots to grow downward instead of watering shallowly every day. |
| Sun exposure | Leggy stems and few flowers may indicate too little light. Bleached leaves, scorched edges, or afternoon collapse can indicate excessive heat or sun. | Observe the bed across a full day, including the hours of strongest afternoon light. Compare the actual exposure with each plant's requirements, then move or replace plants that are consistently in the wrong location. |
| Nutrient deficiency | Uniform pale or yellow older leaves can suggest a mobile nutrient shortage. Yellowing between the veins on newer leaves can point to a micronutrient issue, but similar symptoms can result from poor drainage or pH-related lockout. | Use a soil test before treating. If pH is outside the preferred range, correcting availability may matter more than adding more nutrients. Organic matter also supports flower-bed performance. Most garden and landscape plants perform best with at least 2% soil organic matter, with 5% to 10% a goal for flower beds. |
Work through the checks in this order: soil test, root-zone moisture, daily light, then nutrient status. A symptom is a clue, not a diagnosis. Fix the environmental cause first, and give the bed time to respond before making another major change.
How to Cut Back and Encourage New Growth
Thoughtful pruning can help a tired flower bed redirect energy toward healthy leaves, stronger stems, and fresh blooms. Work gradually, use clean, sharp pruners, and avoid removing more plant tissue than the plant can support.
-
Deadhead spent blooms
Remove faded flowers before they put more energy into seed production. Follow the flower stem down to a healthy set of leaves or a side bud, then make a clean cut just above it. Deadheading can extend the bloom period for some perennials by encouraging the plant to produce new flowers instead of seeds. Many perennials bloom for three weeks or less, so this small task can make a noticeable difference. Learn more about deadheading and longer-lasting blooms.
-
Cut back ragged or leggy growth conservatively
Remove dead or diseased stems down to healthy tissue, and shorten stretched, damaged, or unattractive foliage to restore a fuller shape. Never cut back more than one-third of the plant at one time. Removing too much foliage can stress the plant, especially when its roots are already struggling. If a bed needs more substantial renovation, make the first cut now and reassess after new growth appears.
-
Thin overcrowded clumps
When stems are packed tightly together, remove the weakest, oldest, or crossing growth at the base rather than trimming every plant evenly. Thinning opens pathways for air and light, helping the remaining foliage dry more quickly and receive better exposure. Leave enough healthy stems to maintain the plant's energy supply while the bed recovers. For a broader troubleshooting sequence, see how to revive dying plants.
-
Use the scratch test on woody plants
For a shrub or other woody plant damaged by winter, gently scrape a small area of outer bark with your thumbnail. Green tissue underneath indicates living wood; brown tissue indicates that section is dead. Start at the tip and work downward until you find green tissue, then prune just above it. If the stem is brown all the way to its base, remove it so the plant can direct resources to viable growth.
After pruning, give the bed time to respond. Consistent care over the next several weeks is more effective than repeated heavy cutting in a single day.
When and How to Amend Soil for Flower Beds
Before adding anything, test the soil. A basic test shows pH and nutrient levels, helping you correct the cause instead of guessing. Most flowering plants perform well between pH 6.0 and 7.0; outside that range, nutrients can become unavailable even when they are present in the soil. Learn more about soil pH and nutrient availability.
Build structure with compost and organic matter
Once you know what the bed needs, spread 2 to 4 inches of compost over the surface and work it into the top 6 to 8 inches. Extension guidance commonly recommends 3 to 4 inches of organic material to improve flower-bed soil structure. So use the thicker end when the soil is severely compacted or depleted. Avoid turning the soil deeply around established plant roots.
For heavy clay, combine organic matter with gypsum when appropriate. Gypsum can help loosen compacted clay and improve aeration and drainage, while compost supplies carbon and supports a more workable root zone. Read these soil amendment examples before choosing materials for your bed.
Sandy soil needs a different emphasis. Mix in compost to help it hold water and nutrients, and consider coir to improve moisture retention without making the bed heavy. The goal is not to create a perfect texture overnight. Improve the soil gradually while watching how quickly water drains and how plants respond.
Correct pH carefully, then protect the soil
Use a soil-test recommendation when adjusting pH. Lime raises pH, while sulfur lowers it, but the right amount depends on the current reading and soil type. Make measured changes rather than applying products by habit.
Aim for roughly 5% to 10% organic matter in a flower bed. Replenish it each year with about 1 to 2 inches of compost, since organic matter is continually broken down over time. Finish with a 2 to 3 inch layer of organic mulch, keeping it away from plant crowns and stems. Mulch helps regulate soil temperature, reduce moisture loss, and feed surface fungi as it decomposes. These practices also help boost plant nutrient uptake by keeping the root zone more stable.
Using Biostimulant to Restart a Struggling Garden Bed
When a flower bed looks exhausted, adding more nutrients is not always the answer. A biostimulant helps plants use the nutrients already present in the soil more efficiently. It works at the cellular level to support establishment, nutrient uptake, and natural defenses, giving stressed plants better use of the resources around their roots.
How biostimulants differ from fertilizer
Fertilizer supplies nutrients. A biostimulant supports the plant's ability to access and use those nutrients, so it can complement an existing feeding program rather than replace sound soil care. This distinction matters when a bed is struggling because of compacted soil, inconsistent moisture, or environmental stress. More inputs cannot solve a root-zone problem by themselves.
Bloom & Bed by mitogrow is designed for flowers and ornamental beds. It can enhance nutrient uptake by up to 50% and support faster recovery in stressed, non-woody plants. The naturally derived formula is pet-safe, impossible to overdose, and compatible with any fertilizer program. One bag makes 50 gallons, which makes it practical for treating an entire bed instead of only a few individual plants.
Pair the application with better root-zone care
A biostimulant works best as part of a broader recovery plan. Water deeply and less frequently to encourage roots to grow downward and improve drought resilience. If the soil is compacted or depleted, incorporate well-aged compost or another suitable organic amendment before applying the product. Healthy moisture and improved soil structure give roots a better environment for using available nutrients.
Follow the product directions and give the bed time to respond. Revival is measured in new growth, stronger stems, and returning blooms over the following weeks, not overnight. For a targeted option, explore Bloom & Bed biostimulant for flower beds and ornamental plants.
Frequently Asked Questions
How long does it take for a struggling flower bed to recover?
Expect gradual improvement over several weeks. Correct watering, pruning, soil care, and consistent monitoring help plants rebuild roots and foliage before flowering becomes noticeably stronger.
Should I replace plants that stop blooming?
Not immediately. Check sunlight, moisture, drainage, soil structure, and root-zone crowding first. If a woody plant may have suffered winter damage, scrape the bark gently; green tissue indicates living wood, while brown tissue indicates dead wood.
How often should I water a recovering flower bed?
Water deeply and less frequently rather than applying a shallow splash every day. This encourages roots to grow downward and improves drought resilience. Adjust frequency for rainfall, soil type, temperature, and plant needs.
Can a biostimulant help plants bloom again?
It can support recovery when basic growing conditions are addressed. Biostimulants help plants use existing nutrients more efficiently by improving nutrient uptake and establishment. Bloom & Bed is designed for flowers and ornamental beds.
How do I know whether poor blooms come from soil pH?
Use a soil test rather than guessing. Most flowering plants perform best around pH 6.0 to 7.0, and nutrients can become unavailable outside that range. Apply lime or sulfur only according to test results.
Ready to give your flower bed a fresh start?
Once you've addressed soil, water, sunlight, and pruning, a targeted biostimulant can support the bed's recovery process. Bloom & Bed is designed for flowers and ornamental beds, helping plants use available nutrients more efficiently as roots and new growth develop. Shop Bloom & Bed to give your flower bed a science-backed revival boost, then give the plants time to respond.